Sourdough Starter
$25.00
Introducing Zeus, our exceptional homemade starter that brings your culinary creations to life! Crafted with love and care, this starter is perfect for baking bread, pizza, and other savory delights. With its rich flavor and robust texture, Zeus enhances each dish, making them irresistibly delicious. Whether you’re a seasoned chef or a novice in the kitchen, this versatile starter will elevate your baking game to new heights. Experience the magic of homemade flavors with Zeus and transform your meals into unforgettable experiences!
SPECIFICATIONS
Specification on the Sourdough Starter: A Comprehensive Overview
A sourdough starter is a naturally fermented mixture of flour and water, which serves as the foundation for creating delicious sourdough bread. This starter is teeming with wild yeast and lactic acid bacteria, essential for the fermentation process. Understanding the detailed specifications of a sourdough starter is vital for bakers who wish to achieve consistent results in their baking endeavors. From the ideal ratios of flour to water, to the perfect fermentation conditions, every aspect plays a crucial role in the development of flavor, texture, and rise in the final loaf. This overview will delve into the key components and considerations necessary for maintaining a healthy and active sourdough starter.
HOW TO USE
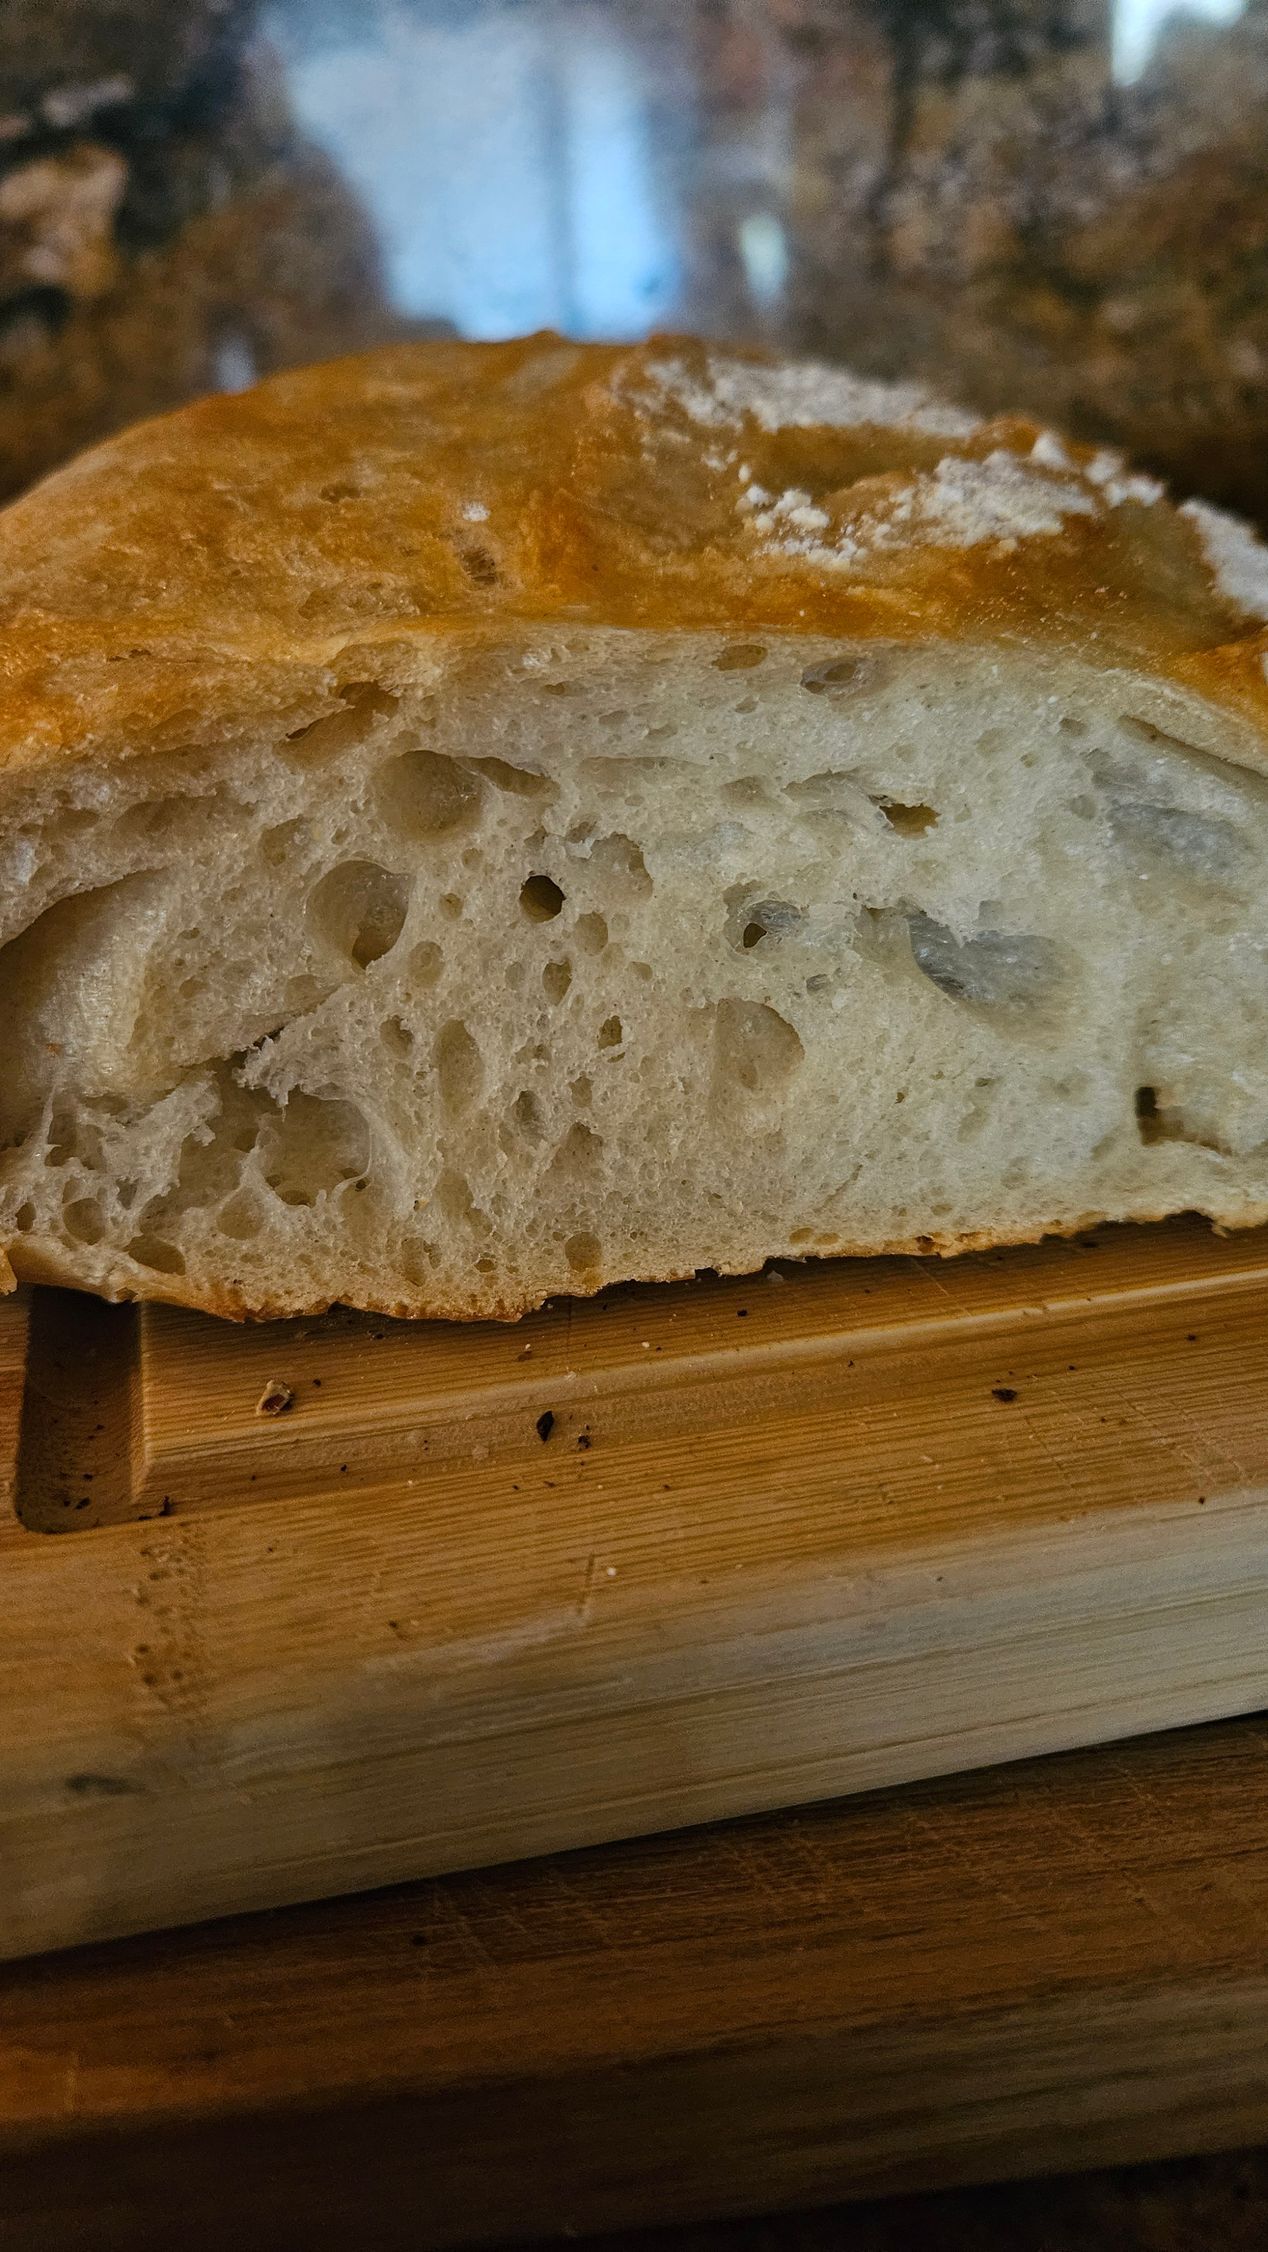
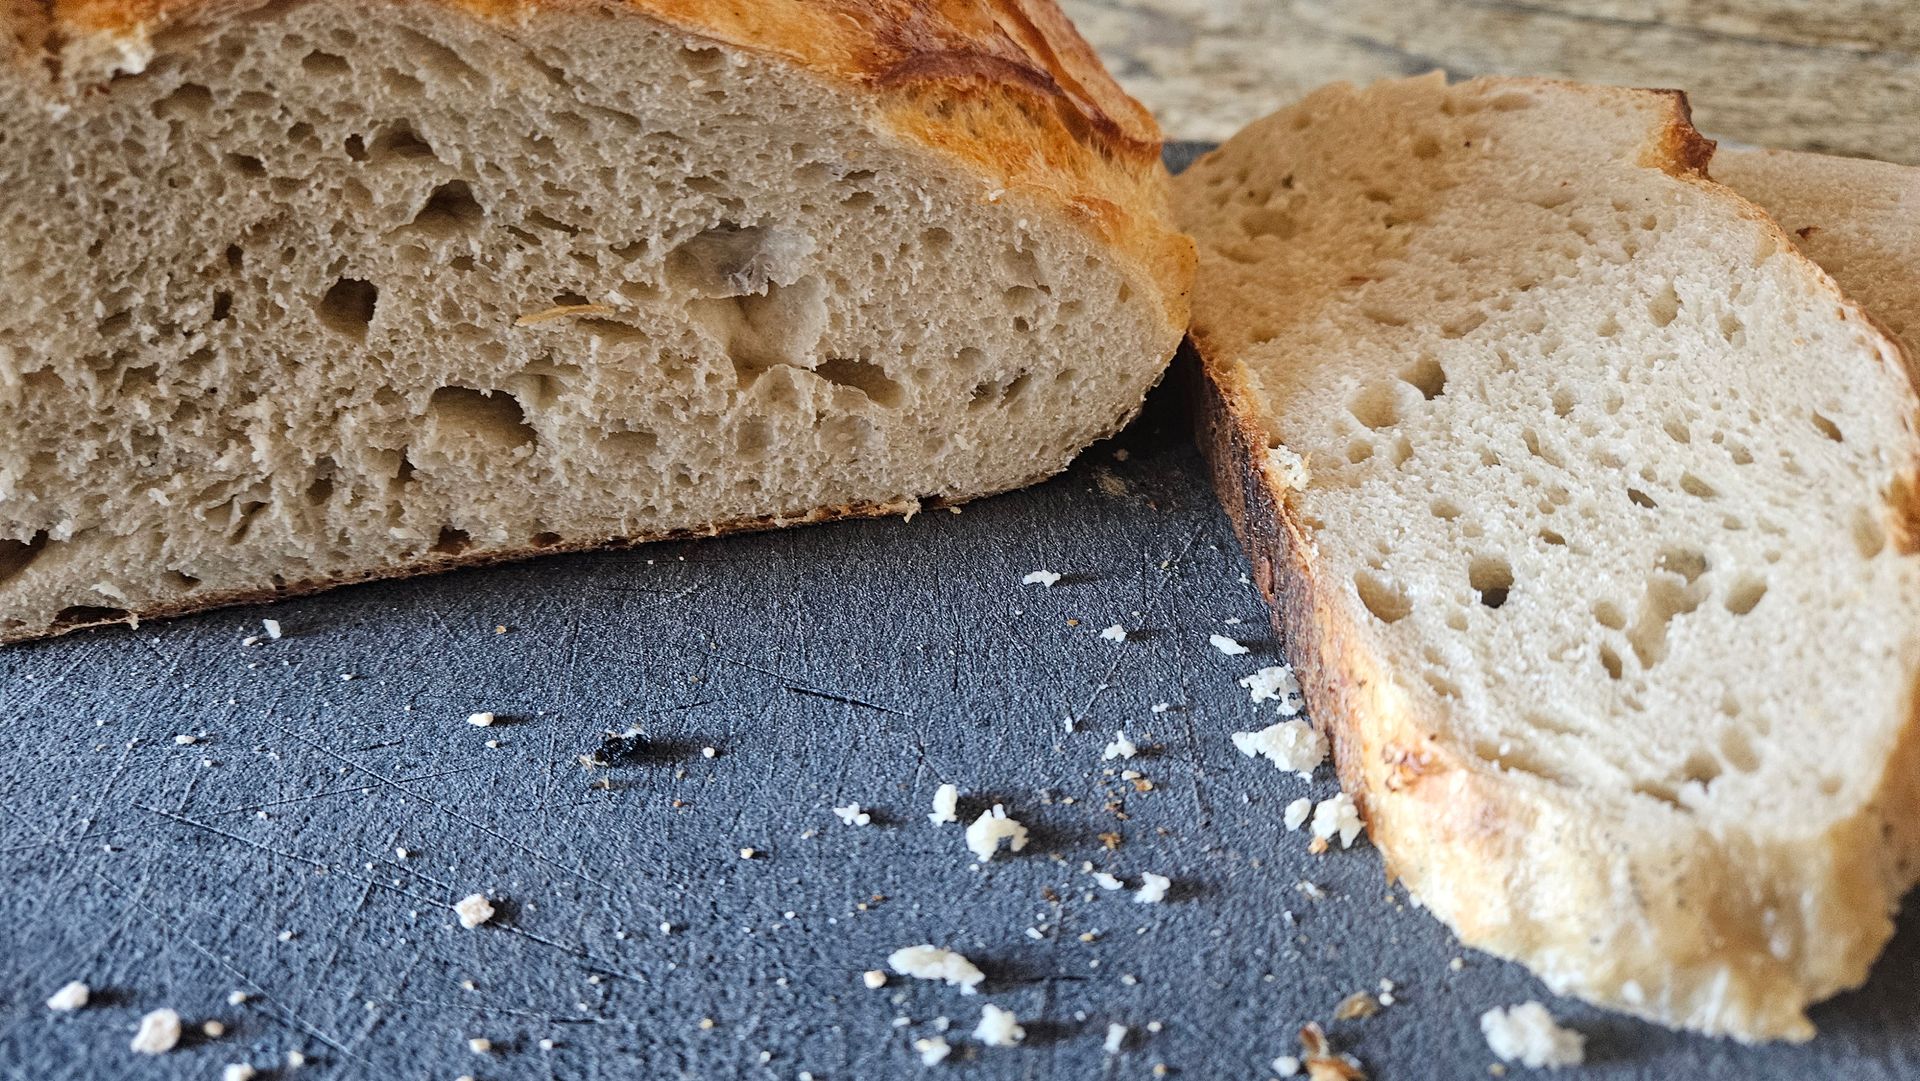
**How to Use a Sourdough Starter to Bake Bread: A Step-by-Step Guide**
Sourdough bread is celebrated for its tangy flavor and delightful texture, made possible by the magic of a sourdough starter. Here’s how to effectively use your sourdough starter to create a delicious loaf of bread.
### Step 1: Prepare Your Starter
**Example:**
If your starter has been in the fridge, take it out and feed it about 4-6 hours before you plan to start baking. Use equal parts flour and water (by weight) to refresh it. For instance, if you have 100 grams of starter, add 100 grams of flour and 100 grams of water. Mix until combined and allow it to sit at room temperature.
### Step 2: Check for Readiness
**Example:**
A ready-to-use sourdough starter will have doubled in volume and have a pleasant, slightly tangy aroma. If your starter has bubbles on the surface and a spongy texture, it’s perfect for baking.
### Step 3: Mix Your Dough
**Example:**
In a large mixing bowl, combine:
- 500 grams of bread flour
- 350 grams of water (at room temperature)
- 150 grams of active sourdough starter
- 10 grams of salt
Mix everything until no dry flour remains. The dough will be sticky – that’s okay! Cover with a damp cloth and let it rest for 30 minutes. This process is called autolyse.
### Step 4: Knead the Dough
**Example:**
After the autolyse, sprinkle salt over the dough and knead. You can use the “stretch and fold” method for about 5-10 minutes. Gently stretch the dough and fold it over itself, then rotate the bowl and repeat. This develops gluten without overworking.
### Step 5: Bulk Fermentation
**Example:**
Place the kneaded dough in a lightly greased bowl and cover it with a cloth or plastic wrap. Let it rise at room temperature for 4-6 hours, performing stretch and folds every 30 minutes for the first two hours to strengthen the dough. After this period, the dough should have expanded significantly.
### Step 6: Shape the Dough
**Example:**
Lightly flour your work surface and gently turn the dough out. Shape it into your desired form, whether a round or oval loaf. Use the tension from the dough’s surface to help shape it. Place it, seam side up, in a proofing basket lined with a floured cloth.
### Step 7: Second Rise
**Example:**
Cover the shaped dough and let it rise for another 2-3 hours at room temperature or overnight in the refrigerator for a more developed flavor.
### Step 8: Preheat the Oven
**Example:**
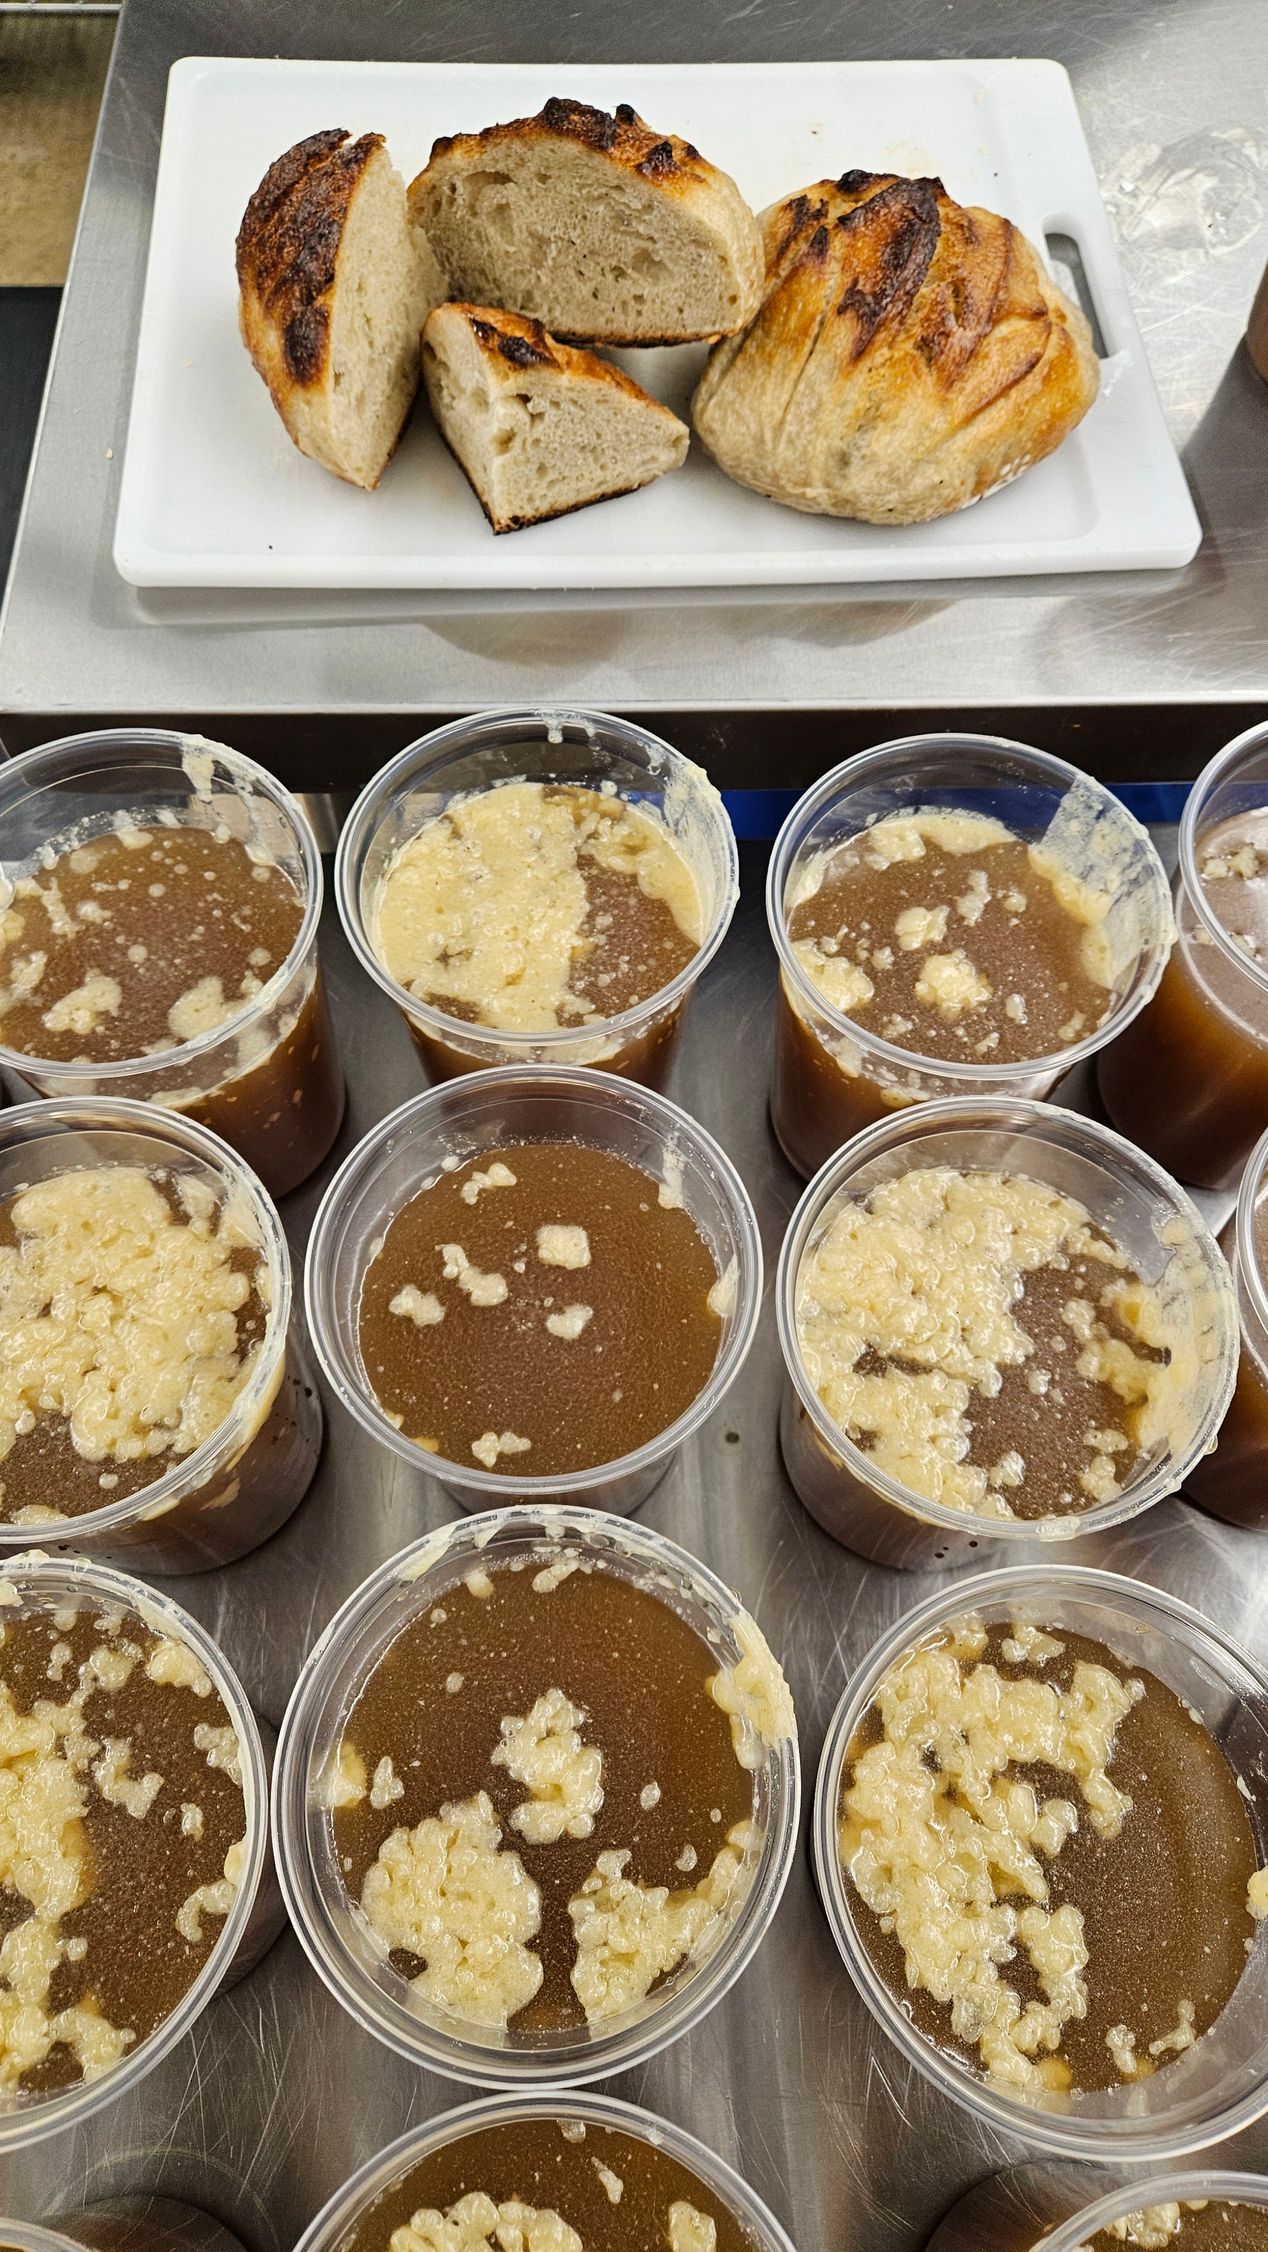
About 30 minutes before baking, preheat your oven to 450°F (232°C) with a Dutch oven inside to create steam while baking.
### Step 9: Bake Your Bread
**Example:**
Once preheated, carefully take out the Dutch oven and place your shaped dough inside. You can score the top with a sharp knife to help it rise. Cover with the lid and bake for 30 minutes. Then, remove the lid and bake for an additional 15-20 minutes until golden brown.
### Step 10: Cool & Enjoy
**Example:**
After baking, let your bread cool on a wire rack for at least an hour before slicing. This allows the crumb to set. Enjoy your homemade sourdough bread with butter, used for sandwiches, or simply on its own!
---
By following these steps, you can harness the power of your sourdough starter to create a delicious loaf that showcases the unique flavors and textures that only sourdough can provide. Happy baking!
DETAILS

BESTSELLERS